Hey there, creative souls!
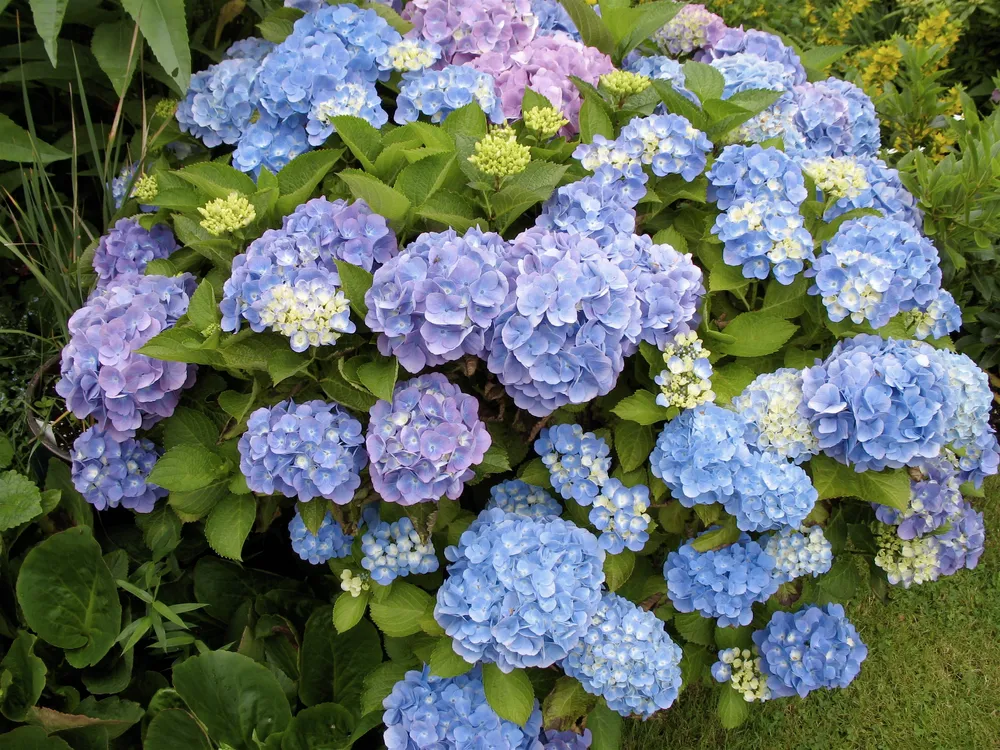
When you think of summer, what’s the first flower that pops into your head? For me, it’s definitely the lush, gorgeous hydrangea!
Today, I’m super excited to share a fantastic summer art project that you can easily do at school or home using everyday items.
The process is incredibly fun, and the final piece looks so professional it could honestly be framed in a gallery. Ready to create some summer magic? Let’s dive right in!Activity Objectives
- Nature Exploration: Understand the traits of hydrangeas (blooming season, shapes, and how soil changes their colors).
- Creative Expression: Develop fine motor skills and aesthetic senses by transforming everyday materials into 3D art.
Materials Needed
- Paper: Dark green cardstock (cut into a square), light green paper (smaller square)
- Craft Supplies: Paper towels, rubber bands, Play-Doh, bright-colored paint pens (white, silver, etc.)
- Tools: Watercolor paints (Pink, Blue, Purple), water cups, scissors, a hairdryer (optional), a fine-tip paintbrush
Step-by-Step Guide
STEP 1. Let’s Talk About Hydrangeas! (Introduction)
Start by showing the kids real hydrangeas or vivid photos. Spark their curiosity with fun questions:
“When do hydrangeas bloom?”
“Wow, look at all these pink, purple, and blue petals! Why do you think they change colors?”
It’s a wonderful way to get them thinking about the beauty of summer.
STEP 2. Dyeing & Drying the Paper Towels
- Roll a sheet of paper towel tightly, just like a kimbap or sushi roll.
- Secure both ends tightly with rubber bands.
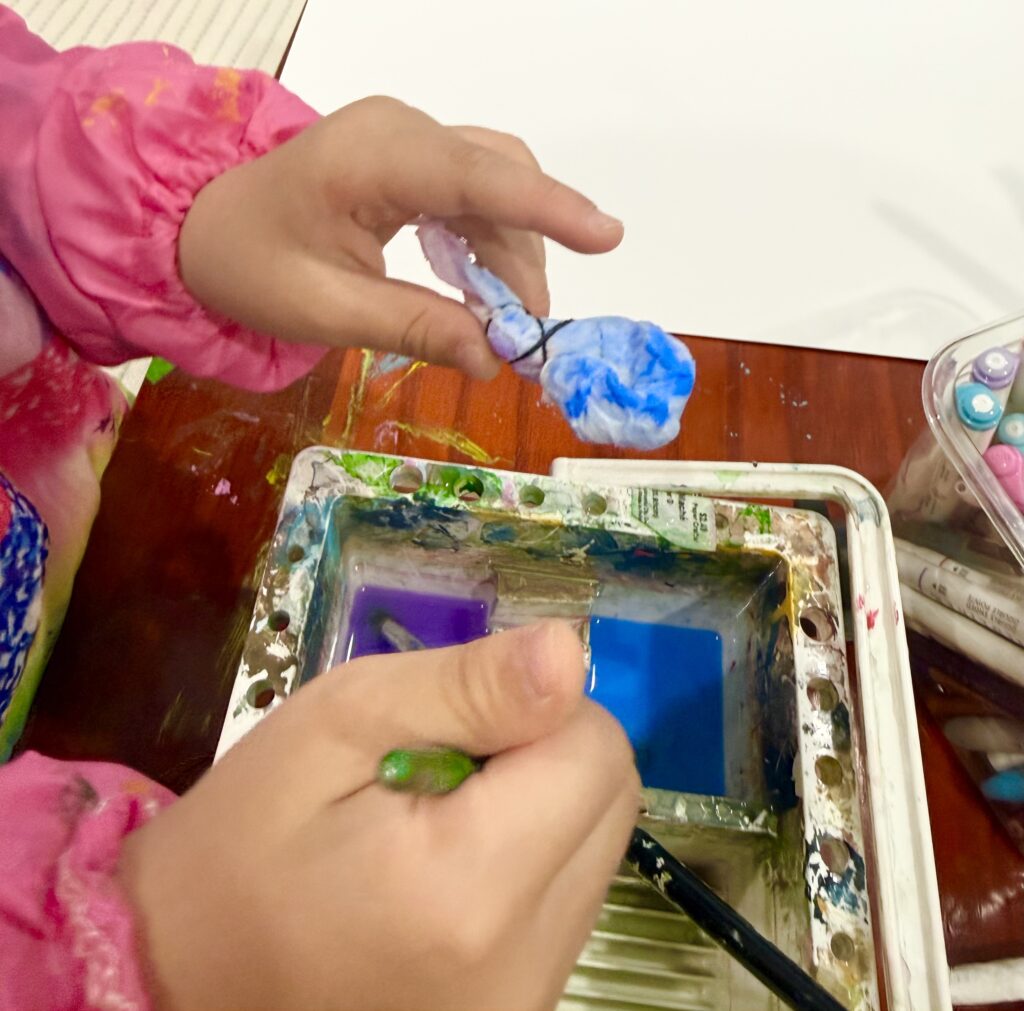
- Dissolve pink, blue, and purple watercolors in water, and dip the rolled towel to create a beautiful gradient effect.
- Carefully unroll the wet paper towel and let it dry. (💡 Blogger’s Tip: If you’re in a rush, use a hairdryer to dry it in seconds!)
STEP 3. Prepping the Petals
Once the paper towel is completely dry, chop it into small squares (approx. 1.5 cm x 1.5 cm). These little squares will soon turn into fluffy flower petals!
STEP 4. Crafting the Perfect Geometric Background
- Cut the dark green cardstock into a large square (using the width of a standard letter paper).

- Measure from the top-center to the side-center of that large square, and cut the light green paper into a smaller square based on that length.
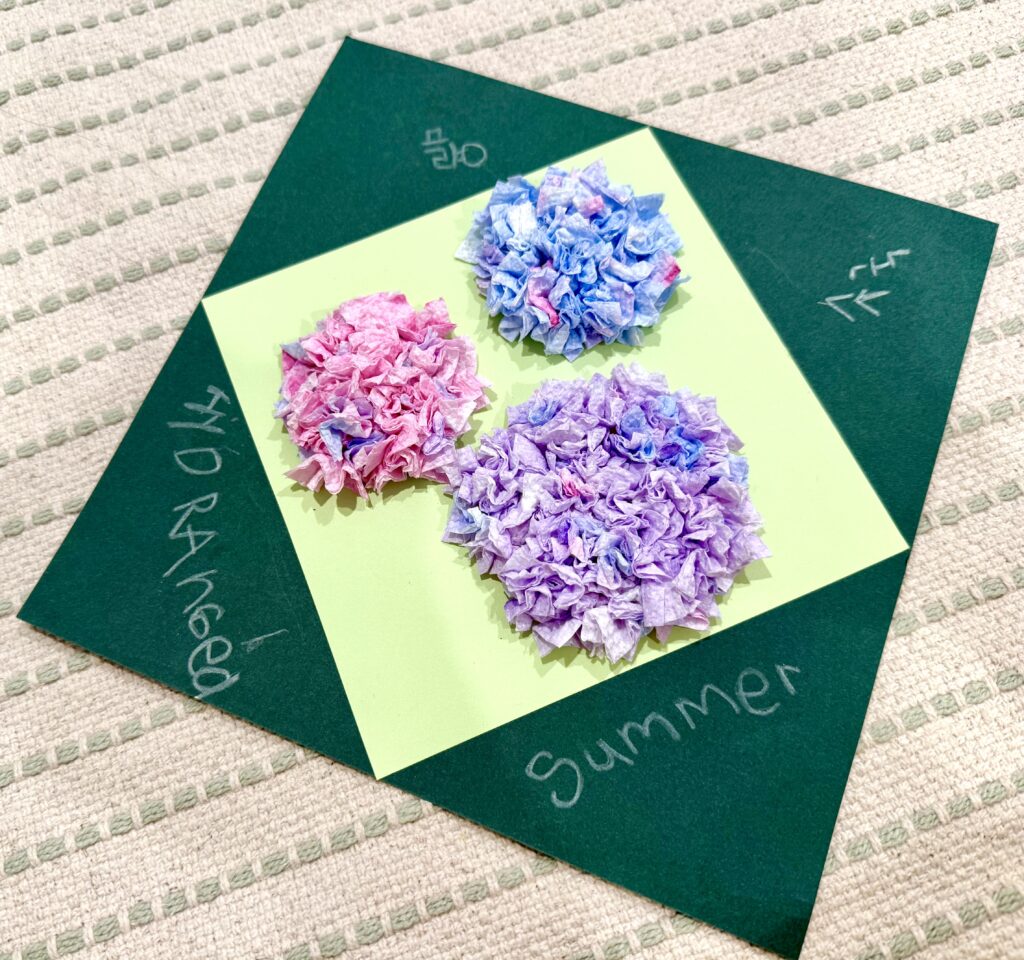
- Paste the light green square right in the center of the dark green background, rotating it to look like a diamond/rhombus.
STEP 5. Shaping the Base with Play-Doh
Pick spots for three hydrangeas of different sizes on the light green diamond to create visual balance. Roll Play-Doh into balls, place them on the paper, and gently flatten them with your palm.
STEP 6. Bringing the Hydrangeas to Life (The Best Part!)
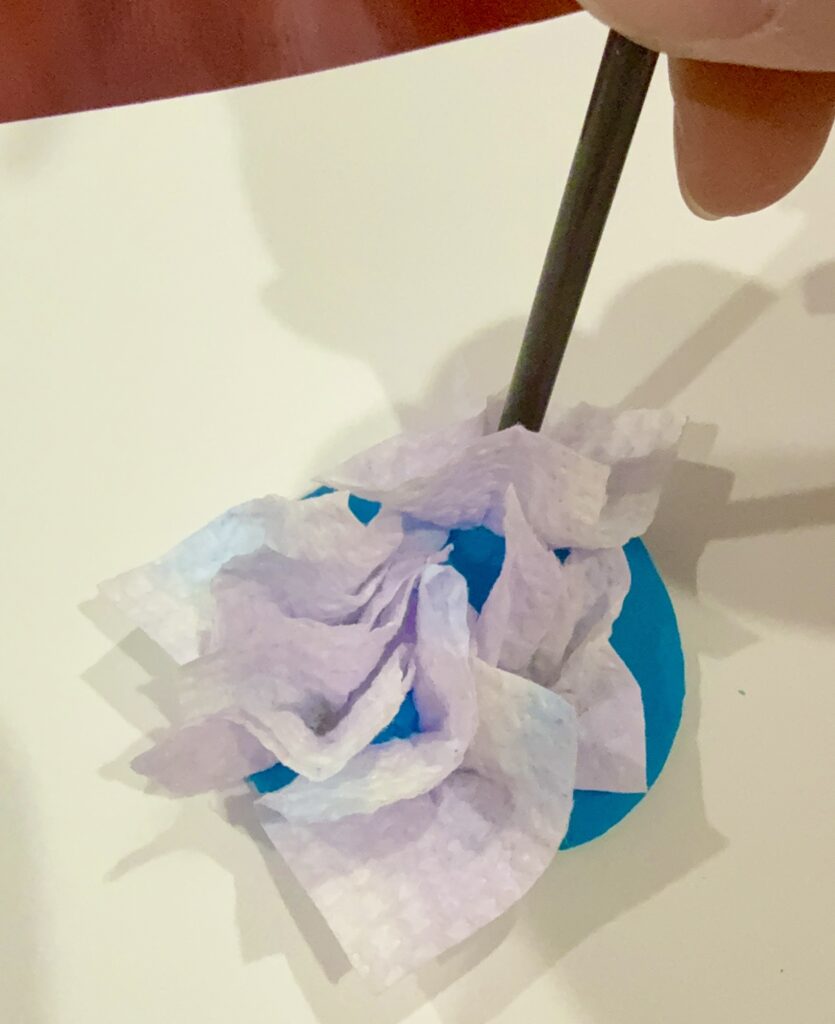
- Place a single square of dyed paper towel on top of the Play-Doh.
- Take the end tip of a fine paintbrush and gently press and twist the center of the paper square down into the dough.
(💡 Blogger’s Pro-Tip! Instead of a paintbrush handle, using a ‘Ball Stylus (Dotting Tool)’—a thin clay rod with a smooth, rounded end—makes this step ten times easier! It prevents the paper from tearing and pushes it perfectly into the dough.
- Repeat this process until the Play-Doh is completely covered with fluffy petals.
- 💡 Blogger’s Tip! To make it look like a real, natural flower, mix a few purple petals into the blue or pink hydrangea. The color contrast is stunning!
STEP 7. Finishing Touches with Calligraphy
Using a bright paint pen, let the kids write lovely words like “Hydrangea” or “Summer” on the dark green border spaces surrounding the central diamond.
Wrapping Up
Who knew everyday paper towels and Play-Doh could transform into such a magnificent piece of summer art? It’s a wonderful sensory activity that brings the freshness of summer indoors. Give it a try this week, and let your creativity bloom!
Leave a Reply